1. Navigate to https://listonce.com.au/dashboard/
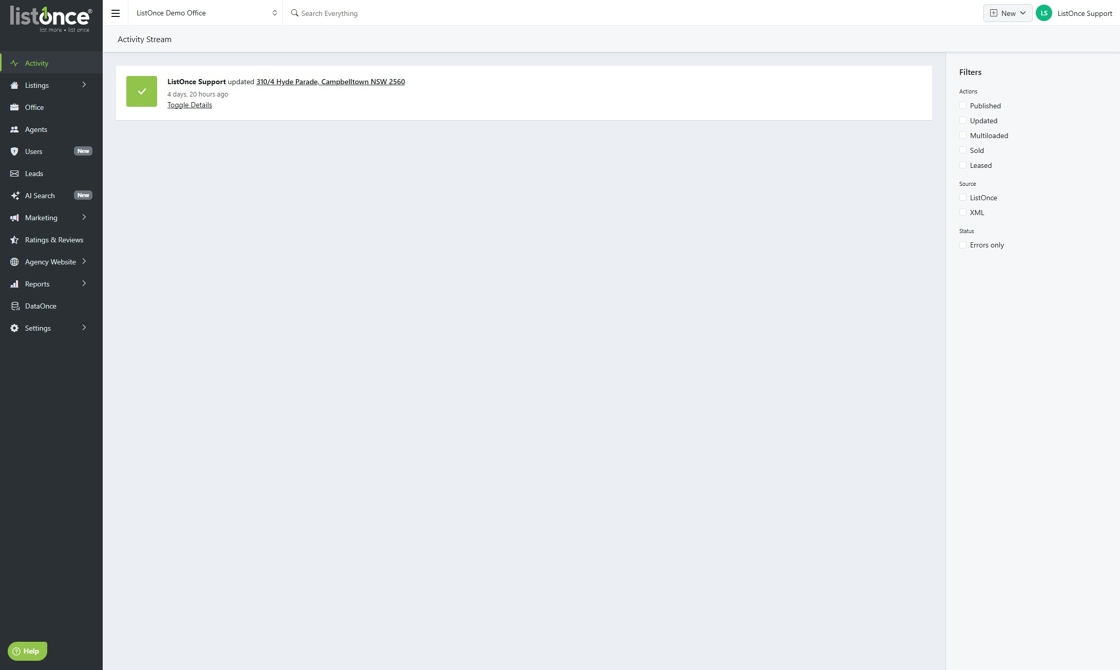
2. Click "New"

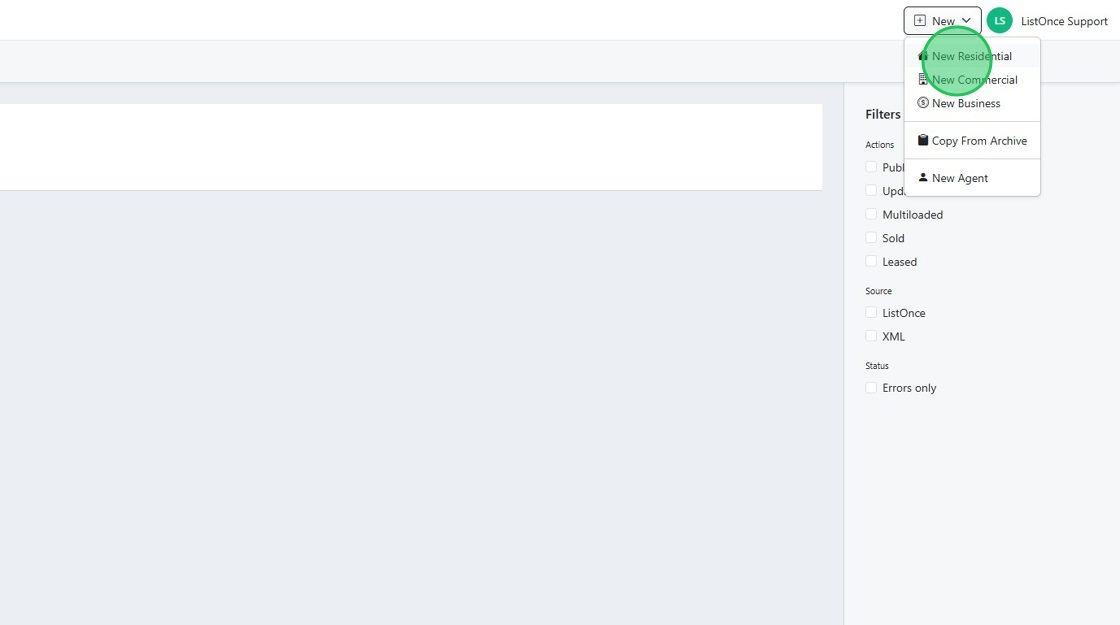
3. Click "New Residential"
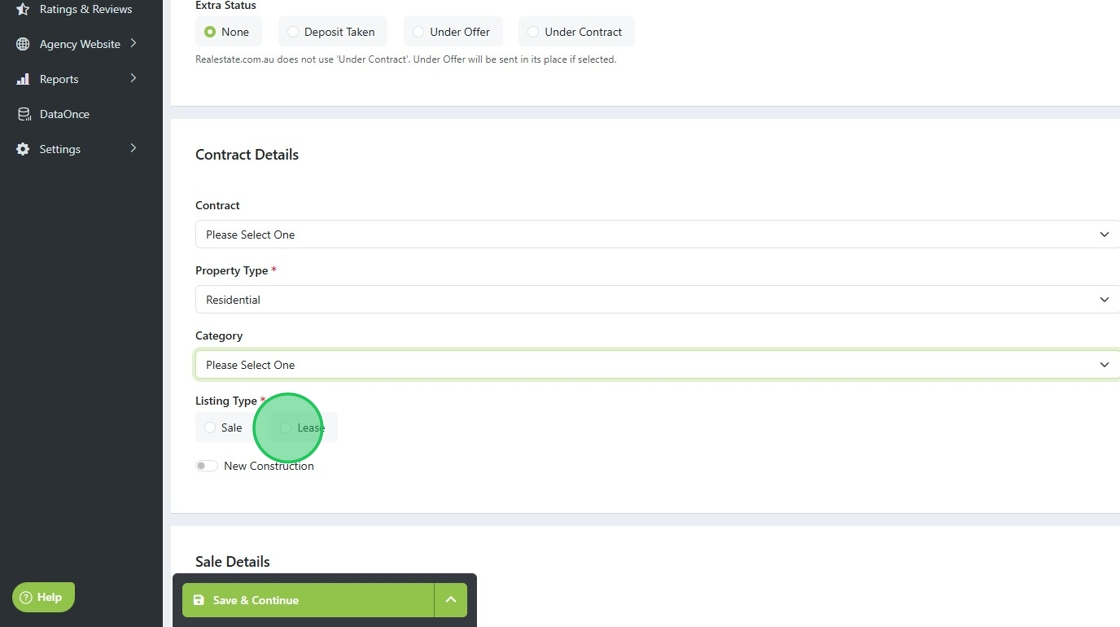
4. Fill out the required fields denoted by the red star, such as street name.

5. Click the "Lease" field, and the form will update to reflect the change
6. Fill out the required fields for a lease listing.
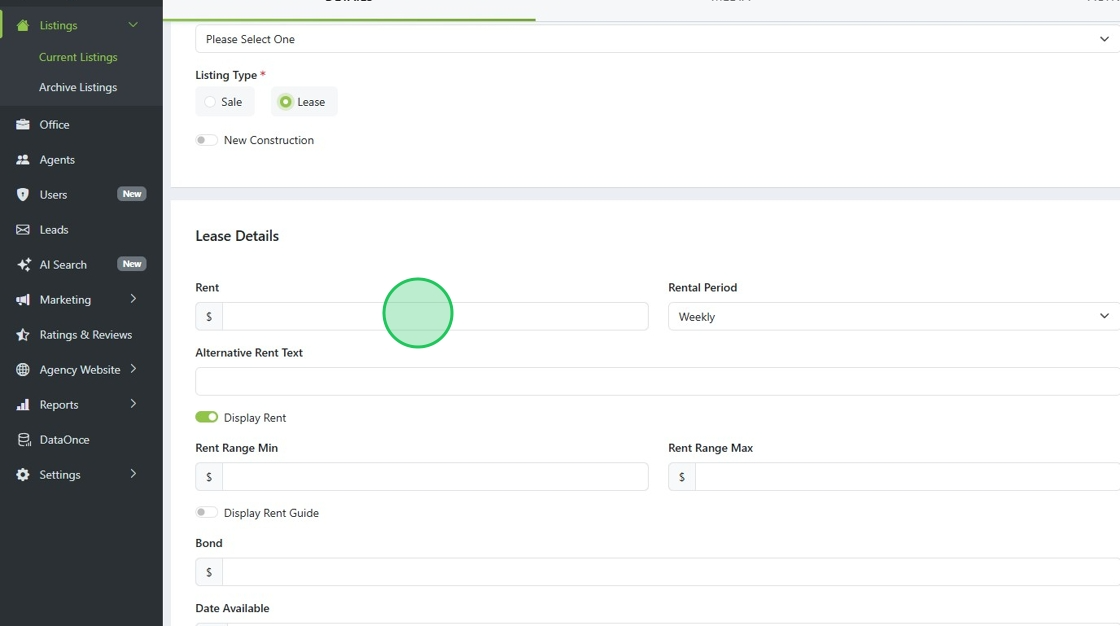
7. Once completed, click "save and continue".
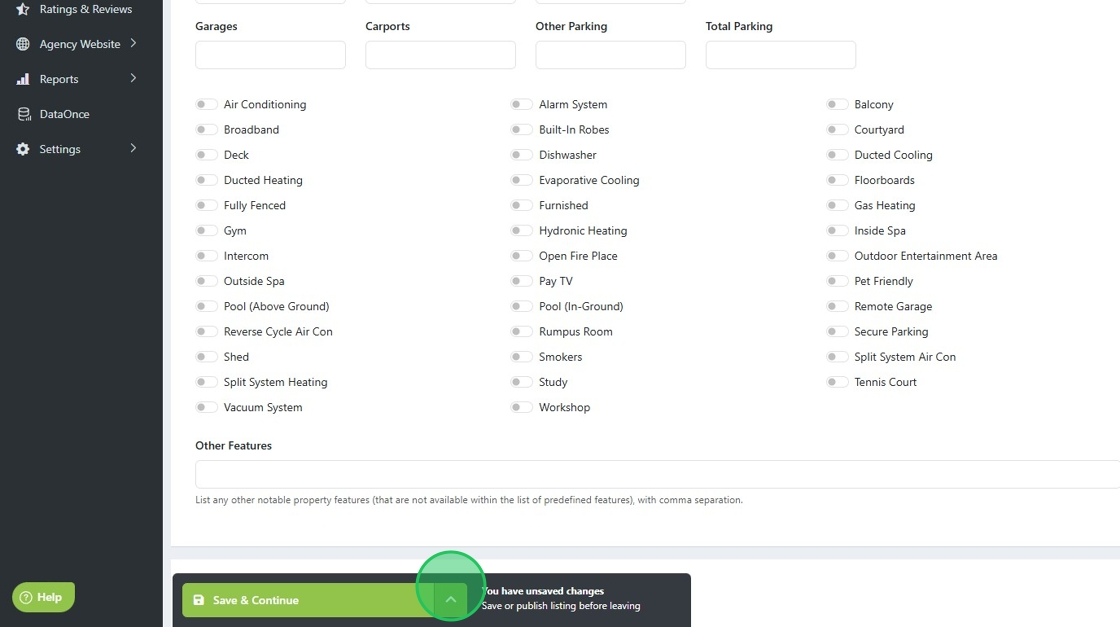
8. Click "Media"
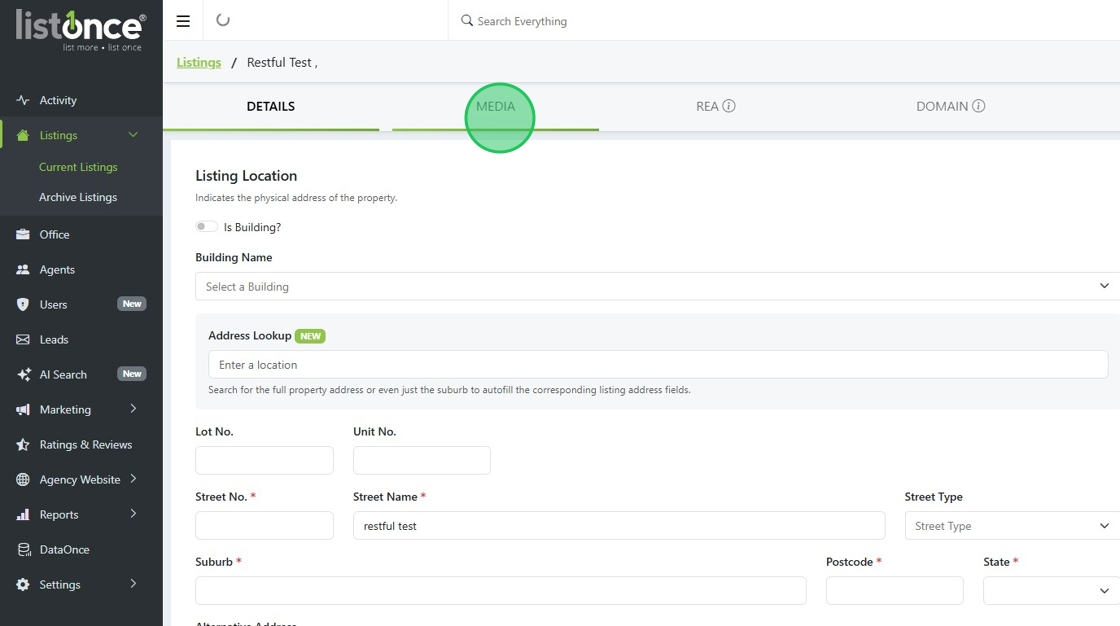
9. Add in any key media files such as hero image and floorplans.
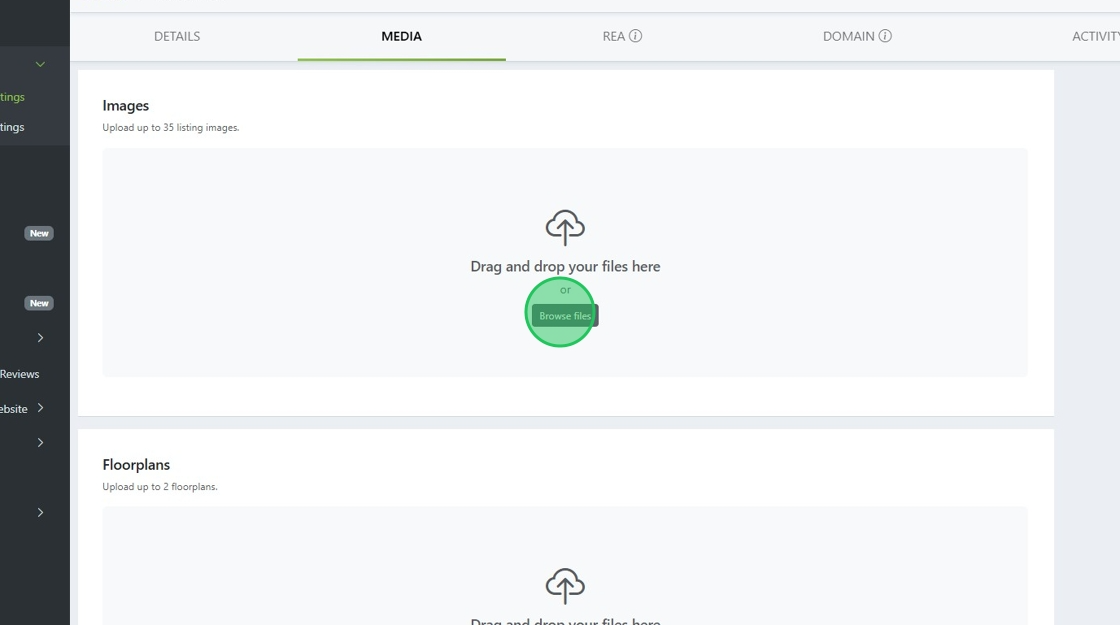
10. Click "Save & Continue" once you have added all support docs and images.
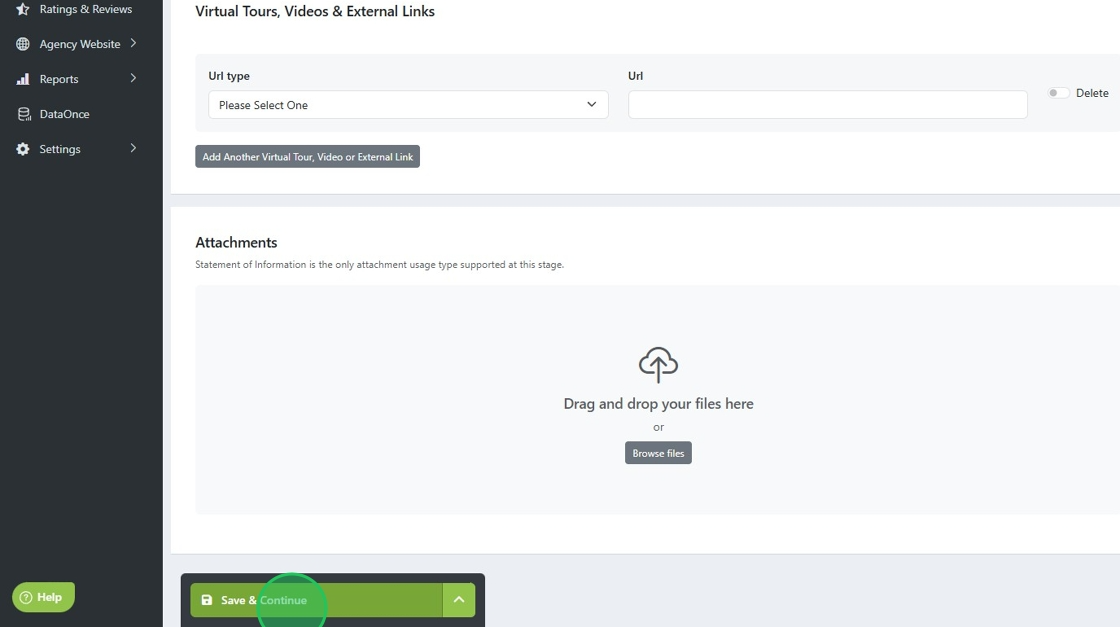
11. Review the "Multiloading & Integrations" hub on the right-hand panel to review where you want the listing to be sent. If you'd like the listing to appear only on your website, simply unselect all options.
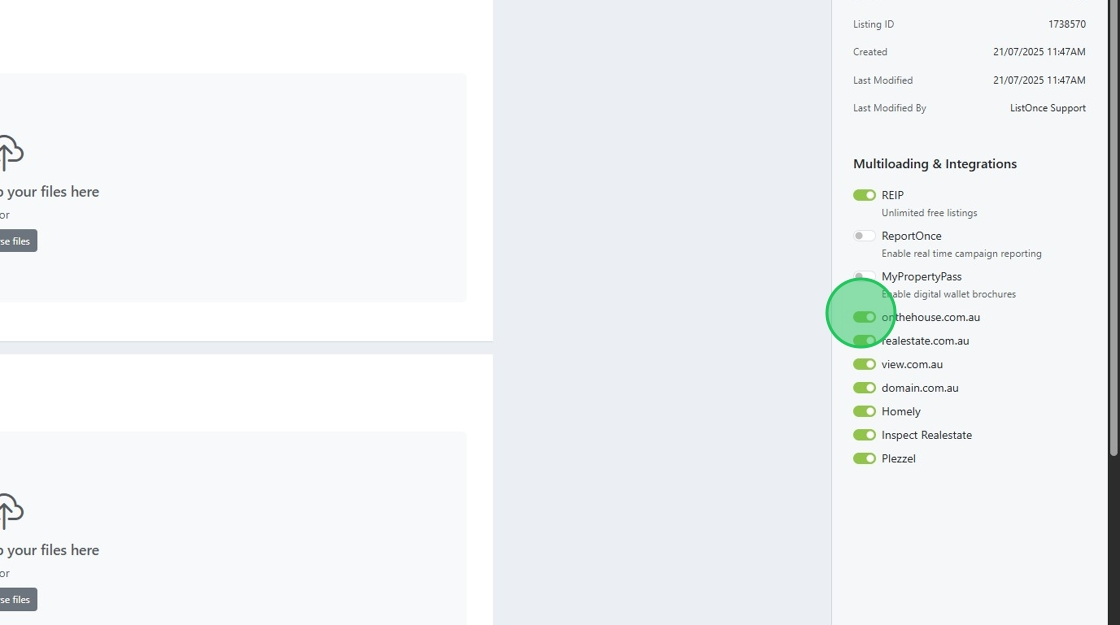
12. Once you have configured your "multiloading & Integrations" hub, click here.

13. Click "Publish Listing"
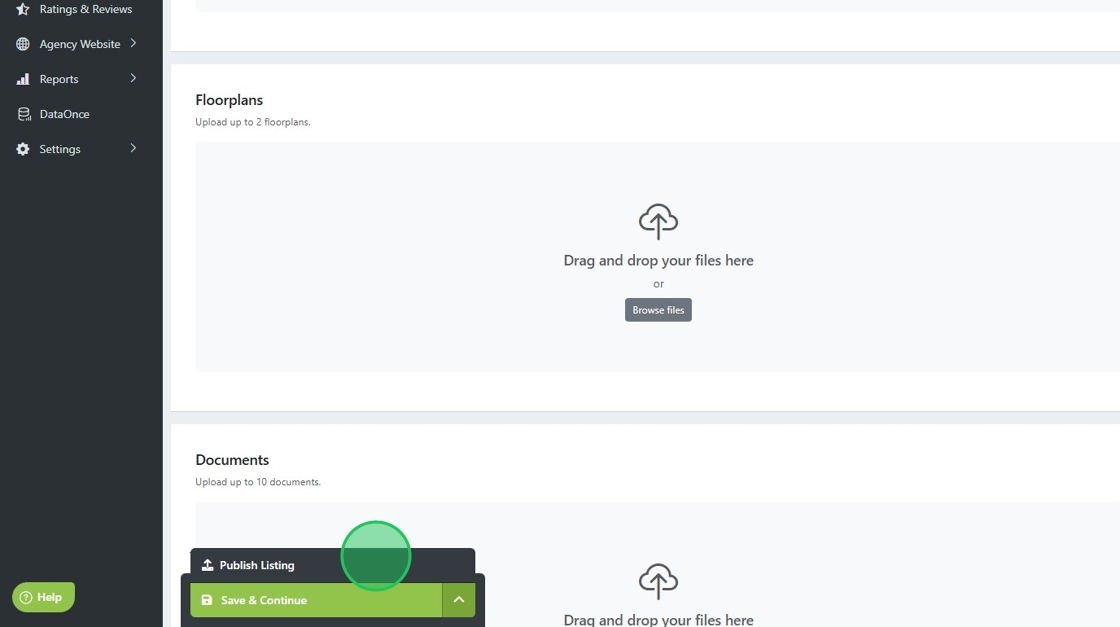
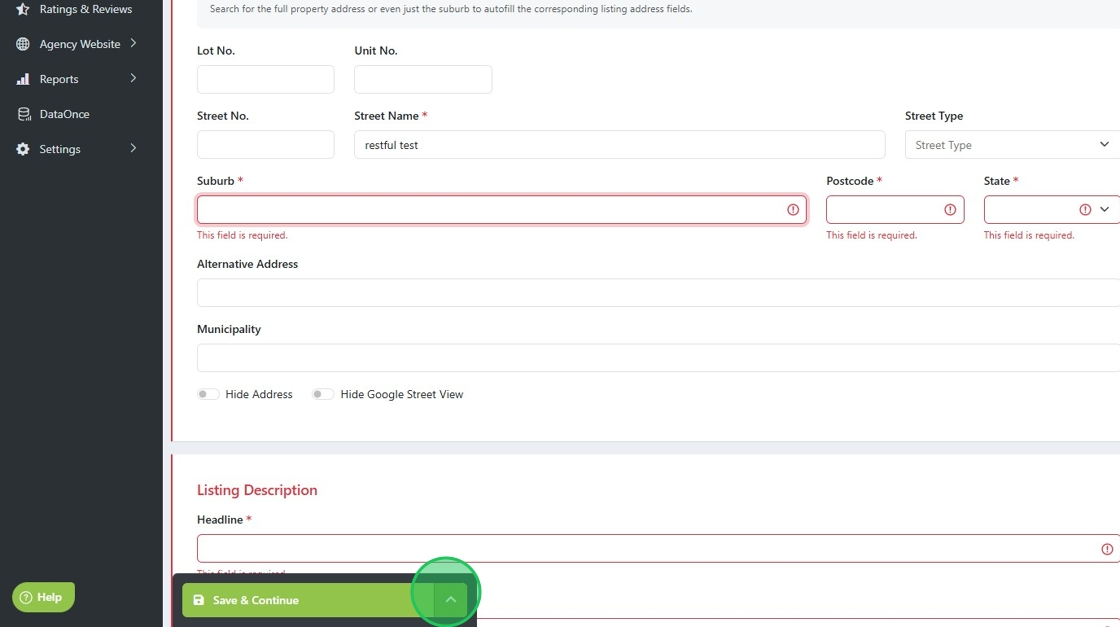
14. If you have missed any required fields, ListOnce will show a red error and direct you to the section that requires your attention.
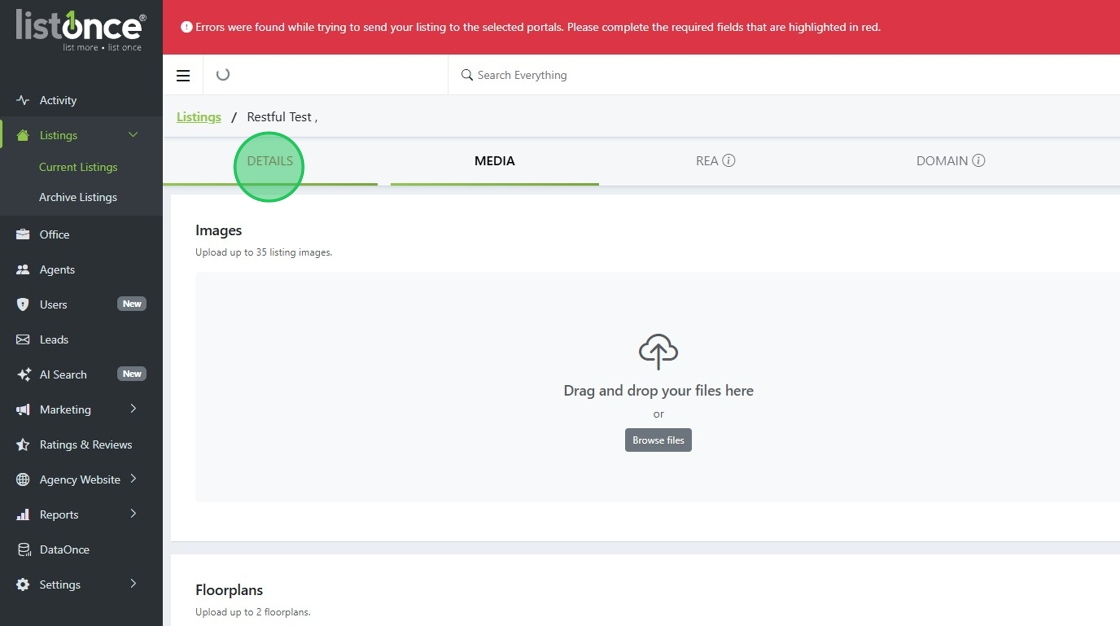
15. For example, the fields below in red are required.
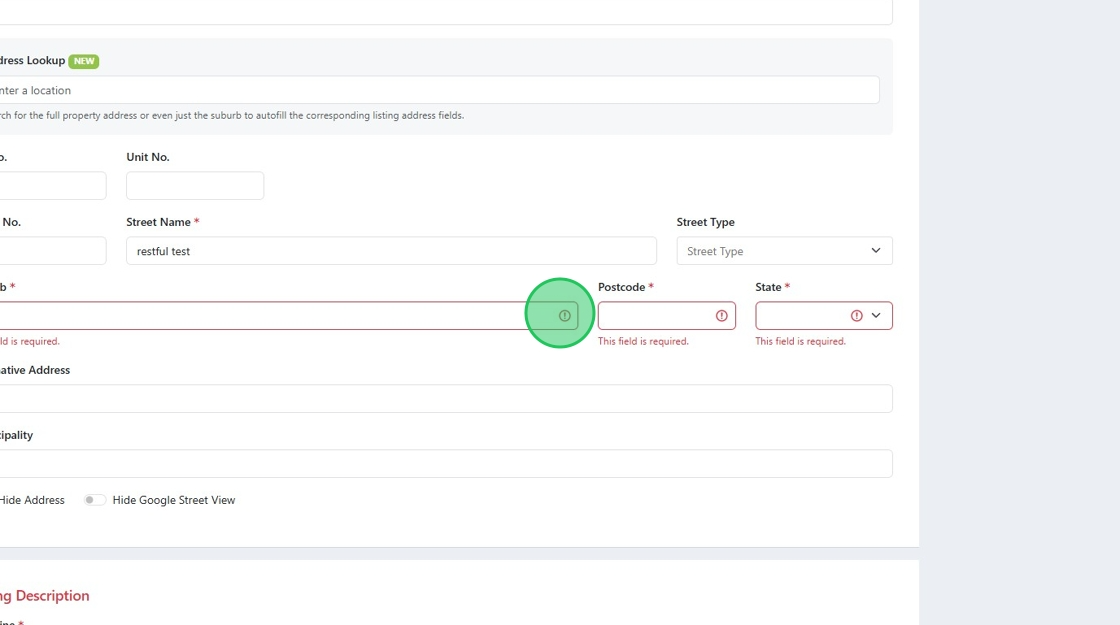
16. Once the errors are fixed, click here and publish the listing.
Was this article helpful?
That’s Great!
Thank you for your feedback
Sorry! We couldn't be helpful
Thank you for your feedback
Feedback sent
We appreciate your effort and will try to fix the article